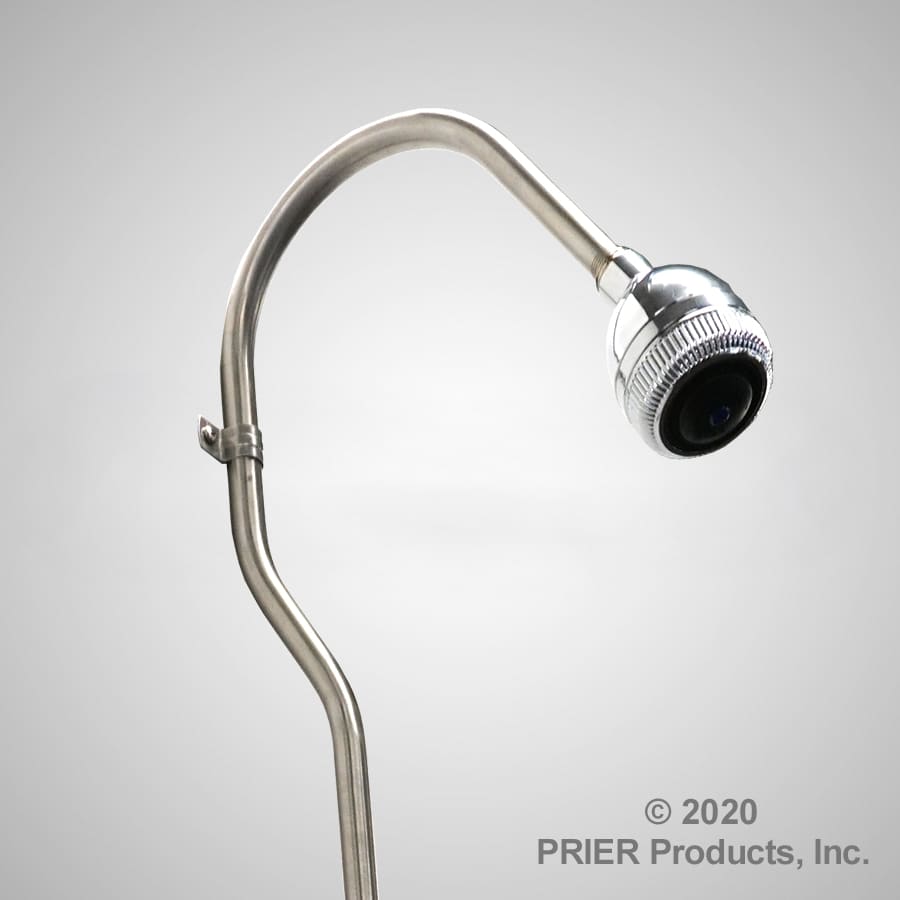
C-108SH1 | Freezeless Shower

Great for the lake, beach, pool, campgrounds, farms, athletic facilities and anywhere you want to shower outside.
The C-108SH1 is fully compatible with the C-108 hot and cold freezeless hydrant (sold separately). The self-draining C-108SH1 comes with everything you need to install, including a standard MPT shower head and mounting hardware. And, with a stainless steel riser, it will maintain its attractive finish.
Don't forget to pick up a Hot & Cold C-108 Freezeless Wall Hydrant to complete your installation.
Features
- First and only freezeless, outdoor shower
- Self-draining upon shutoff
- Fully compatible with C-108 hot and cold freezeless hydrant
- Shower head and mounting hardware included
- Standard MPT connection for shower head customization
- Stainless steel riser rod maintains finish
- Interchangeable spout for hose thread use
- Convert your outdoor hot and cold faucet to a shower in minutes
- Riser is 38 inches between connection and bottom of shower head
Product Support
Possible Repair Issues for the C-108 Freezeless Wall Hydrant include:
1. When the water is running, water leaks out from behind the handle
This is a common maintenance occurrence for any packed valve of any brand or manufacture. It is overcome by simply tightening the packing nut with a crescent wrench. This will force the packing tighter around the stem to eliminate leakage.
Occasionally, the packing will need to be replaced if the packing nut has been repeatedly tightened.
The packing kit required for this reapir is part number C-134KT-803.
C-134KT-803 Packing Kit

2. The hydrant drips after shut off
A freezeless wall hydrant shuts off inside the heated portion of the structure therefore, the water inside the hydrant will drain out after shutoff. The shutoff point could be any distance from 4" to 24" inside the structure. This installation should also be pitched to allow the water to easily drain out of the hydrant. The hydrant may drip for up to 60 seconds after shutoff. If the water continues to drip after that time, you most likely need to replace the bibb washer.
The bibb washer used on this item is a standard "OO" Beveled Bibb Washer, available at your local plumbing wholesaler.
C-134KT-802 Replacement Bibb Washer

3. Water is leaking from the hydrant inside my house
DO NOT OPERATE THE HYDRANT IF THIS HAS OCCURRED.
Please remove the handle to prevent accidental operation until the problem is repaired by your plumber.
4. The handle is missing from my hydrant
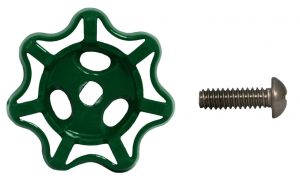
For any one of numerous reasons, your handle may be missing. PRIER's handle is unique to our products; it has two flat and two round sides. This style handle mates perfectly with our stem-end for a snug fit and years of reliable operation.
The required handle kit is part number C-134KT-805.
C-134KT-805 Replacement PRIER Handle

Add -R to the end of the part number for a red handle.
6. How do I convert my hydrant to loose key?
Commonly, this change occurs to prevent unauthorized usage of the product. To convert to the loose key vandal-proof option, part number C-134KT-804 is required.
C-134KT-804 Loose Key Conversion Kit

7. The stem end is damaged and I cannot operate the freezeless hydrant
Occasionally the stem of the PRIER hydrant gets damaged beyond repair. This is most commonly caused by the hydrant being operated by pliers and damage to the brass on the end.
To determine the proper replacement stem, you need to determine the following:
1. Overall length (OAL) of the stem, from tip to brass tip. Do not include the rubber bibb washer in this measurement.
2. The "A" Dimension as shown on the picture below. This "A" Dimension will either be 1/2" or 9/16". A caliper may be necessary to determine this dimension.

3. Using the acquired dimensions, determine which stem is required from the spec sheet.
